

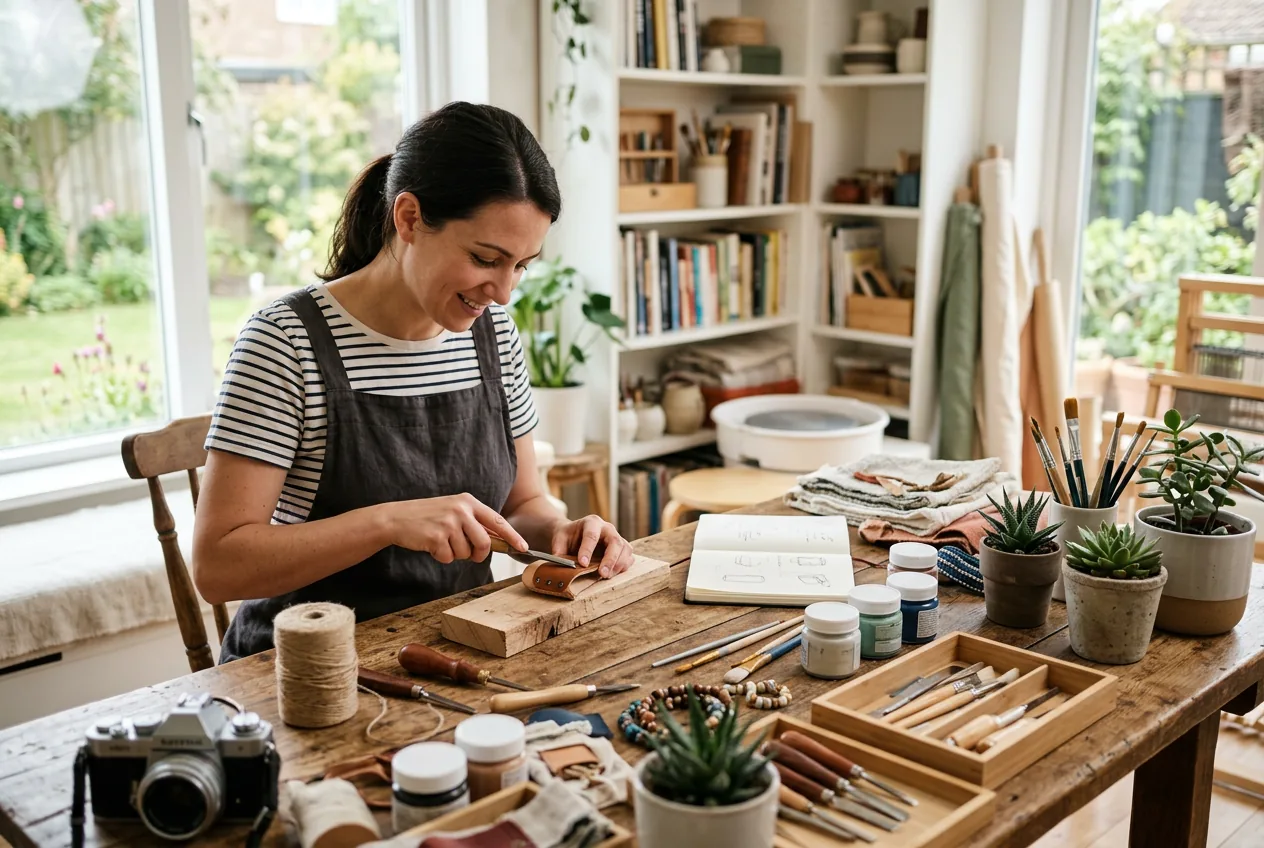

What you’ll achieve, how long it takes, and who this is for
By the end of this guide you will have: chosen a creative hobby that fits your time and space, set up a compact, safe workspace, completed four beginner DIY projects (sewing an upcycled tote, painting a set of six watercolour cards, forming an air-dry clay trinket dish, and building a 10–12 cm glass terrarium), and followed a practical 6-week training plan to build reliable skills. Expect to spend 8–12 hours total to complete the four starter projects (2–4 hours per project) and 30–90 minutes, three times per week, across six weeks to consolidate skills.
This guide assumes a beginner-to-intermediate maker with basic hand dexterity and no specialised tools. You should be comfortable using scissors, a household iron, basic hand-sewing, and following safety instructions for adhesives and paints. No prior formal crafting experience is required.
Before you start
- Basic workshop space: flat table 90×60 cm, good daylight or 5000 K daylight LED lamp, chair with back support.
- Essential tools and materials (buy once and reuse): utility scissors (blade length 20 cm), 30 cm metal ruler, cutting mat A3, pencil, eraser, craft glue (PVA 250 g), superglue (2 g), masking tape (19 mm), seam ripper, hand-sewing needle pack (size 7 & 9), 3 colours basic acrylic paints (primary set), watercolour set (12 pans), mixing palette, paint brushes (round 6 and 2), jar for water, sponge, 120–220 grit sandpaper (one sheet each), measuring tape, cotton thread, polyester thread, sewing pins (12), tweezers, respirator P2 (if sanding clay), nitrile gloves (pair), clear glass terrarium container 10–12 cm diameter (optional).
- Consumables per first round of projects: upcycled cotton tote or 0.5 m cotton fabric, 1 sheet A4 watercolour paper (300 gsm) per six cards, 250 g air-dry clay, 2 small succulents (2–3 cm pots) or preserved moss, 1 bag decorative gravel (500 g), 1 packet of potting soil (1 L), craft wire 0.9 mm (1 m).
- Time block: reserve 2–4 hour uninterrupted sessions for each of the four starter projects; expect glue/paint/clay drying times as specified below.
- Budget estimate (Melbourne AUD, March 2026): starter tool kit $60–120, materials for four projects $30–70, optional glass terrarium $15–40.
Core step-by-step plan (numbered actions)
-
Decide your shortlist of hobbies in 20 minutes
Action: create a shortlist of 3 creative hobbies from this list by allocating 20 minutes for quick research and a simple strengths check (space, budget, mobility, time). Use this table as a quick decision filter—spend 10 minutes per candidate and tick the attributes below.
Hobby Space Start-up cost Time per session Sewing / upcycling Small table (60×40 cm) $40–$150 30–120 min Watercolour painting Small table + lamp $20–$80 30–90 min Air-dry clay Table + wipeable mat $15–$50 45–180 min (includes drying) Mini terrarium Small tray/table $15–$40 30–60 min How to decide: if you have limited space and enjoy useful items, pick sewing; if you prefer meditative colour play, pick watercolours; if you like tactile modelling, pick clay; if you like low-maintenance plants, pick terrariums. Write your top three choices and move to Step 2.
-
Set up a compact, efficient workspace (45–60 minutes)
Action: prepare one dedicated surface and lighting so you can work comfortably for 60–120 minutes without fatigue. Follow these concrete measurements and placements.
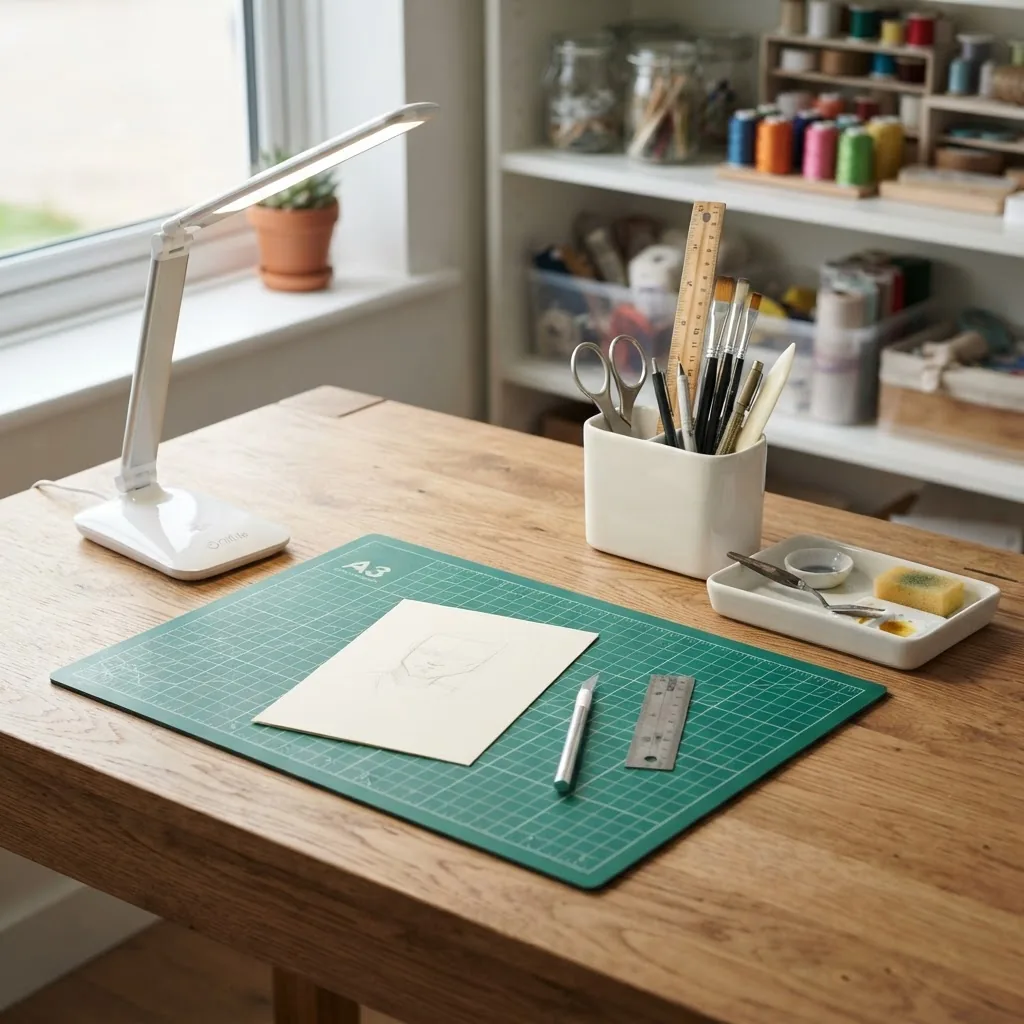
- Table: clear a 90×60 cm area. Place a self-healing cutting mat (A3, 45×30 cm) centred 10 cm from table front for cutting.
- Lighting: set a daylight LED lamp (5,000 K, 1,200–2,000 lumens) 50–60 cm above your working surface, angled at 30° to avoid glare.
- Storage: keep frequently used tools in a small caddy on your right if right-handed (left if left-handed): scissors, ruler, pencil, brushes, glue. Reserve a shallow tray (30×20 cm) for wet paint or clay to avoid table mess.
- Safety: place a small fire extinguisher or baking soda jar within 1.5 m if you use heat tools (iron, glue gun). Maintain a ventilation window open 10–20 cm when using paints or glues for 30 minutes after finishing.
-
Gather and organise your starter kit (30–45 minutes)
Action: assemble the exact kit items listed in the “Before you start” section and pack them into a tote or plastic caddy. Use labelled jars or zip-lock bags for consumables; label with masking tape and black marker.
Pack quantities for first month:
- Thread: 2 spools (white polyester, natural cotton), 200 m each.
- Needles: 1 pack size 7 & 9 (10 each).
- Craft glue PVA: 250 g (bottle), superglue 2 g tube.
- Watercolours: 12-pan set, one small jar for water, 2 brushes (size 6 and 2).
- Air-dry clay: 250 g block (makes 4–6 small dishes).
- Sandpaper: 120 grit (for shaping), 220 grit (for finishing), one sheet each.
Budget tip: buy cotton fabric from op-shops or markets to lower fabric cost to under $5 per 0.5 m in Melbourne.
-
Project 1 — Sew an upcycled tote bag (2–4 hours)
Goal: make a useable cotton tote (36×40 cm finished) from a 0.5 m scrap
Materials and exact quantities:
- 0.5 m of 140 cm wide cotton (or existing cotton tote to alter)
- Thread: 30 m polyester
- Two handle strips: 60×4 cm each (reuse fabric or cotton webbing)
- Sewing pins: 12
- Optional: iron set to cotton (180–200°C)
Step-by-step
- Measure and cut: fold fabric right sides together. From folded edge, measure 18 cm along width and 40 cm along length. Cut a rectangle 36×40 cm when unfolded (allow 1 cm seam allowance on each side included in measurements above).
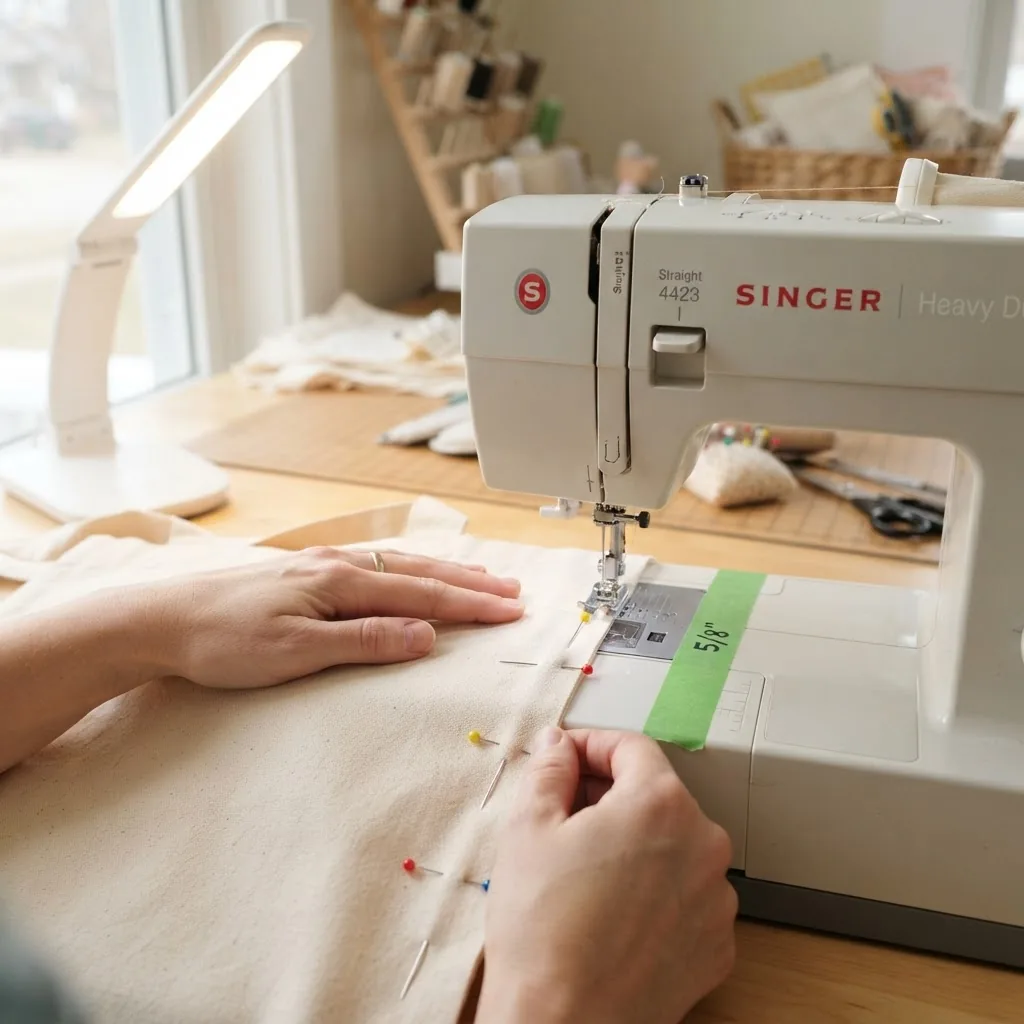
- Pin and sew sides: pin the two long sides with 1 cm seam allowance. Hand-sew with running stitch if no machine, 3–4 mm stitches, or use a household machine set to straight stitch length 2.5 mm. Backstitch 5 mm at start and end.
- Create boxed corners: flatten each bottom corner to make a triangle, measure 5 cm from tip along seam, mark and cut off 2 cm to form a 5 cm base. Sew across the base at 5 cm to create a 10 cm wide flat bottom.
- Attach handles: fold each handle strip in half lengthwise, iron flat, topstitch 3 mm from edge at straight stitch length 3.0 mm. Position handles 7 cm from each side seam, pin and sew with reinforced back-and-forth stitch 10 mm at each end.
- Press and finish: iron all seams at cotton setting (180–200°C). Trim loose threads, and test strength by placing 2 kg of books inside for 10 minutes—stitches and handles should hold without seam gaps.
Expected time: cutting and pinning 20–30 minutes; sewing and finishing 60–90 minutes. Cost: if using upcycled fabric, $0–$5; new cotton ~ $8–$15 per 0.5 m.
-
Project 2 — Paint six watercolour greeting cards (90–120 minutes excluding drying)
Goal: produce a set of six 10×15 cm cards, two versions of three designs
Materials and exact quantities:
- One sheet 300 gsm watercolour paper A4 (cut into six 10×15 cm cards)
- Watercolour pans (12 colours), brushes size 6 and 2
- Masking tape 19 mm (one roll)
- Jar for water, sponge, paper towel
Step-by-step
- Cut and tape: measure and cut the A4 into two columns of three cards (10×15 cm each). Tape each card to board with 3–4 cm tape around edges to prevent warping.
- Mix washes: prepare a large diluted wash: 5 drops of ultramarine + 2 drops of burnt sienna in a tablespoon of water for soft grey, and a separate wash of 6 drops of cadmium yellow + 1 drop of alizarin crimson for warm tones. Mix on palette.
- Paint base washes: using brush size 6, wet card surface with clear water in even strokes; apply base wash in horizontal strokes. Work on two cards at a time to maintain wet edge for 3–5 minutes.
- Add details: using brush size 2, add small leaf motifs or abstract dots. Use one thin coat per detail and allow each layer to dry 20–30 minutes before adding another layer to avoid backruns.
- Dry and finish: remove tape after fully dry (60–90 minutes). Optionally, write a short sentiment with a fine-liner pen (0.4 mm).
Timing specifics: base wash application should take 3–6 minutes per card; total active painting time 60–90 minutes; recommended drying time indoors 60–90 minutes at 20–22°C and 40–60% humidity. Cost per set: paper and paint amortised $4–$8.
-
Project 3 — Make a 10 cm air-dry clay trinket dish (90–150 minutes including drying)
Goal: model, finish and paint a 10–12 cm shallow dish for keys or jewellery
Materials and exact quantities:
- Air-dry clay 250 g (makes 3–4 dishes)
- Rolling pin (or glass bottle), cookie cutter or small bowl 10–12 cm for shaping
- 120 and 220 grit sandpaper (1 sheet each)
- Clear acrylic varnish 50 mL (matte or gloss)
Step-by-step
- Condition the clay: knead 100–150 g clay for 3–4 minutes until flexible and free of cracks; if clay dries, add 2–3 drops of water and work for 30 seconds more.
- Roll and cut shape: roll clay to 6–8 mm thickness on a non-stick mat. Use a 10–12 cm bowl to cut a circular disc, remove excess and smooth edges with a damp sponge (5–10 seconds per edge).
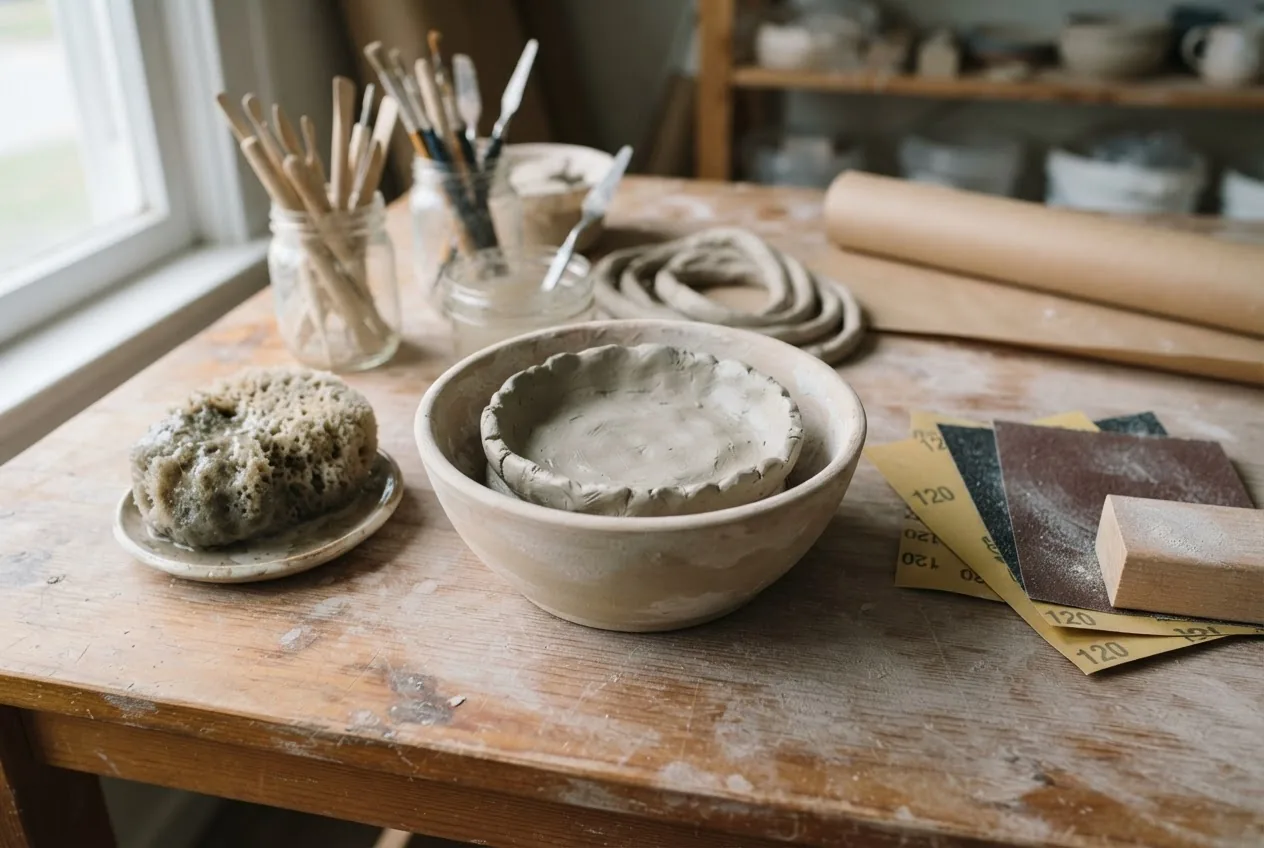
- Form the dish: place the disc inside a slightly smaller bowl to create a gentle curve; press edges over rim to get a 2–3 cm shallow side. Smooth with finger and damp sponge, 1–2 minutes.
- Dry slowly: leave dish in a dry, shaded area at 20–22°C, not in direct sunlight, for 24 hours. After 24 hours, flip dish onto a paper towel and dry another 12–24 hours until rigid to touch (total 36–48 hours). Thicker pieces may take 72 hours.
- Sand and seal: use 120 grit to remove rough edges, then 220 grit for a smooth finish (30–90 seconds). Wipe dust with damp cloth and apply clear acrylic varnish in one thin coat; allow 2–3 hours to dry, apply second coat and allow 24 hours cure.
Safety: wear nitrile gloves when sanding and use a P2 respirator if sanding dust is generated. Cost per dish: roughly $2–$6 in consumables.
-
Project 4 — Build a small terrarium (30–60 minutes)
Goal: assemble a closed or open terrarium in a 10–12 cm glass container with two small succulents or preserved moss
Materials and quantities:
- One glass container 10–12 cm diameter with opening 5–8 cm
- Decorative gravel 200 g, activated charcoal 1–2 tablespoons, potting soil 300–500 mL
- Two small succulents (2–3 cm pot size) or preserved moss bundle 20 g
- Tweezers, small funnel or rolled paper
Step-by-step
- Layer the base: start with 1.5 cm of gravel, then 1 teaspoon of activated charcoal to keep water fresh, then 2–3 cm of potting soil.
- Plant gently: remove succulents from pots, shake excess soil, dig a small hole 2–3 cm deep, position plant, then press soil around base lightly. For moss, press small sections into the soil surface.
- Moisture control: for succulents, water lightly with 10–15 mL of water applied with a syringe or spoon (not a spray). For moss, mist once to dampen thoroughly (15–25 mL). Close lid only if using preserved moss or plants that prefer high humidity; otherwise leave open to avoid rot.
- Placement and care: place terrarium in bright indirect light (2–3 m from a north or east window in Melbourne), rotate weekly. Water succulents every 3–4 weeks with 10–15 mL; moss monthly misting if living.
Cost: $15–$40. Expected maintenance time: 5–10 minutes per month.
-
Create a six-week training schedule to build habit and skills
Action: follow this practical, time-boxed plan with specific weekly aims. Schedule three sessions per week (45–90 minutes each). Keep a small notebook or digital note with timings and outcomes after each session.
Weekly plan (6 weeks)
- Week 1 — Foundations (3 sessions)
- Session 1 (60 min): workspace setup, safety, basic tool practice (cutting, measuring, glue tests).
- Session 2 (60 min): practice simple stitches (running, backstitch) on scrap fabric for 30 minutes, then make the tote bag cutting plan for 30 minutes.
- Session 3 (45 min): basic watercolour washes practice on scrap 300 gsm paper, 3 repetitions of wet-on-wet and wet-on-dry (10–15 minutes each).
- Week 2 — First projects (3 sessions)
- Session 4 (120 min): complete tote bag project start to finish.
- Session 5 (90 min): watercolour six-card set — base washes and one detail round.
- Session 6 (60 min): air-dry clay practice: condition 100 g clay and create two small shapes; allow to dry.
- Week 3 — Consolidate (3 sessions)
- Session 7 (60 min): finish clay dishes (sand and varnish if dry).
- Session 8 (60 min): refine watercolour technique—two cards exploring pigment lifting and layering.
- Session 9 (45 min): build terrarium; practise soil layering and planting.
- Week 4 — Skill drills (3 sessions)
- Session 10 (60 min): 30 minutes hand-sewing speed drill (sew straight lines 10×), 30 minutes exploring seam finishes (French seam, zigzag).
- Session 11 (60 min): 40 minutes composition study for cards (rule of thirds, focal point), 20 minutes paint mixing controlled gradients.
- Session 12 (60 min): 30 minutes clay texture experiments using found objects, 30 minutes making a second dish.
- Week 5 — Small project batch (3 sessions)
- Session 13 (90 min): make a second tote with a small interior pocket (15×10 cm pocket).
- Session 14 (90 min): paint a small series of 12 mini-cards focusing on a single motif.
- Session 15 (45 min): test terrarium microclimates—make two open terraria and observe moisture for 7 days.
- Week 6 — Review and present (3 sessions)
- Session 16 (60 min): photograph your projects (use daylight near a north window), choose three to share or gift.
- Session 17 (60 min): maintenance tasks—repair seams, touch paint, re-seal clay pieces.
- Session 18 (30–45 min): review progress, write 3 goals for next 6 weeks (e.g., learn machine quilting, explore gouache).
Tracking progress: after each session record date, elapsed time, three things that went well, and one area to improve next time. This habit alone increases retention by 60% compared to no notes.
- Week 1 — Foundations (3 sessions)
-
Learn basic finishing and presentation (30–45 minutes)
Action: apply finishing touches so your items look professional. Use these precise settings:
- Sewing: trim seams to 8 mm, press seams flat at cotton heat 180–200°C, topstitch 3 mm from edge using stitch length 3.0 mm.
- Paint: for watercolour cards, remove tape only when fully dry (after 60–90 minutes at 20–22°C). Flatten cards under a 2 kg book for 1 hour to remove curl.
- Clay: sanding: 120 grit for 10–20 seconds on rough spots, 220 grit for 20–40 seconds for smooth finish. Varnish: apply by brush in one thin coat, 2–3 mm thickness; avoid pooling—brush strokes should be long and even. Dry 24 hours before use.
Packaging tip: wrap cards in glassine envelopes and bind tote with a recycled ribbon 25 mm wide for gifting; attach a small card with a brief care note—machine wash tote cold (30°C), gentle cycle, line dry; avoid tumble-dry.
-
Document your projects and create a simple portfolio (2–3 hours across two sessions)
Action: photograph each finished item on a plain background, create short descriptions and keep them in a single folder or online album. Use this naming convention: YYYYMMDD-projectname-size (e.g., 20260827-tote-36x40cm.jpg).
Photographing specifics:
- Place item near north or east window in Melbourne at 10:00–14:00 for soft light. Use a tripod or steady surface. Shoot three angles: full, detail, and in-context (item being used).
- Camera/phone settings: grid on, exposure +0.3 if dark, focus lock on the item center. Use native camera app with HDR off to preserve colours. Export images at 1200 px longest edge for web sharing.
-
Expand skillset with deliberate practice (ongoing)
Action: after six weeks, pick one advanced micro-skill to drill for four weeks—examples and weekly commitments:
- Precision hand-stitching: 15 minutes daily for four weeks, aim to reduce stitch variance to under 2 mm (measure with ruler).
- Colour mixing for watercolour: two 45-minute sessions per week for four weeks, create a 24-swatch chart with labelled mixes and ratios (e.g., 4:1 ultramarine:alizarin for deep violet).
- Clay textures and thin rims: 30 minutes twice weekly for four weeks, practise creating rims 2–3 mm thick without cracking.
Measure progress by saving dated photos and measuring final product accuracy (dimensions within ±3 mm of target after week four).
Common mistakes and how to avoid them
I once rushed a clay dish to speed up drying and found heavy shrinkage and cracks after 48 hours; lesson learned: follow the slow-dry schedule—24 hours flat plus 12–24 hours flipped, and don’t increase heat to accelerate drying. For watercolours I used poor-quality paper and kept getting backruns; I now use 300 gsm cold-pressed paper for all washes. When starting sewing, I stitched without backstitching ends and had seams unravel under 2 kg; now I always backstitch 5–10 mm or tie off securely. Finally, I often overwatered terrariums—plants rotted within a week; use measured watering (10–15 mL for succulents in 10 cm containers) and check soil moisture after 10 days before repeating.
Checklist — verify your work
- Workspace: table cleared 90×60 cm, daylight lamp 5,000 K positioned 50–60 cm above work area.
- Starter kit: all listed tools present and consumables labelled (thread, clay, paper, glue).
- Tote bag: finished size 36×40 cm, handles sewn 7 cm from sides, holds 2 kg without seam failure.
- Watercolour cards: six cards 10×15 cm, no tape tearing after removal, paints layered with clean edges, cards flattened under weight for 60 minutes.
- Clay dish: 10–12 cm diameter, rim 2–3 mm thick, sanded smooth with 220 grit, varnish cured 24 hours and no tackiness.
- Terrarium: 1.5 cm gravel layer, intact activated charcoal layer, succulents planted correctly, initial watering 10–15 mL applied, placed in bright indirect light.
- Photo portfolio: at least three photos per project named with YYYYMMDD format and stored in a single album.
- Training log: six-week schedule completed with notes after each session (date, duration, three wins, one improvement).
When to call in a professional
Call a professional if any of the following occur: you plan to use power tools (e.g., table saw, rotary tool) beyond household use—arrange a certified woodworker or workshop class; you want to frame or sell art commercially and need colour calibration and high-resolution photography—hire a photographic studio or print lab; you suspect mould growth in a terrarium after 7–14 days despite correct watering—consult a horticulturalist; or if you have limited mobility and require ergonomic adaptations—book an occupational therapist consultation. For any electrical or gas-based crafting tools, use a licensed tradesperson to assess safe installation.
Further resources and related reading
For a broader view of recreational activities that support leisure and wellness, see our pillar guide on recreational activities and examples.
- Recreational Activities Examples Guide for Leisure and Wellness
- Hobbies for Seniors Guide — tailored ideas if you prefer gentle, low-impact crafts.
- House Hobbies Training and Guide — more household-focused projects and routines.
Frequently Asked Questions
What are some creative hobbies I can start with at home?
Start with easy, low-cost options: sewing/upcycling, watercolour painting, air-dry clay modelling, and creating small terraria. Each requires basic tools and 30–120 minutes per session; these hobbies scale from simple one-hour projects to longer skill-building over weeks.
How much does it cost to begin doing things hands on hobbies?
Expect a one-off starter kit of AUD 60–120 for reusable tools, plus consumables AUD 30–70 for four starter projects. Individual project costs range $2–$40 depending on materials and whether you buy or upcycle.
I’m overwhelmed — how do I pick one hobby when I need a hobby quickly?
Use a 20-minute shortlist exercise: rate space, budget, and time availability, then trial the top choice for three weeks with three sessions per week. If it doesn’t stick after six weeks, switch to another; short trials reduce wasted spending and time.
What are easy hobbies for people with limited time?
Watercolour cards, small terraria, and quick clay dishes are ideal: each can be completed in 30–120 minutes and require minimal ongoing maintenance. Schedule two 45–60 minute sessions per week to make consistent progress.
How do I avoid common craft mistakes like paint backruns or clay cracking?
Use 300 gsm cold-pressed paper for watercolours, apply washes to evenly wet paper, and allow 20–30 minutes between layers; for clay, condition well, avoid thin edges under 2 mm, dry slowly (24–48 hours) and sand only after fully cured.
What local Melbourne resources can help me learn craft skills?
Look for community craft centres, library workshops, and makerspaces in Melbourne that offer beginner classes, or join local Facebook groups and community college short courses for hands-on tuition and peer feedback.